

Setting Account Information on RollQuest
After creating your RollQuest account, you can update your profile information so other players can recognize you during campaigns. Your profile can include your profile picture, cover image, display name, real name, status, bio, pronouns, social links, badges, and recent game activity.
1. Open Your RollQuest Dashboard
Sign in to RollQuest. After signing in, the RollQuest dashboard opens. The dashboard shows the Welcome to RollQuest page, your games, your current plan, and your account card in the top-right corner. The account card displays your profile image, account name, and email address.
2. Open Your Account Profile
Click your account card in the top-right corner of the dashboard.
A profile panel opens from the right side of the screen. This panel shows your current profile information, including your profile picture, name, bio, linked socials, member date, total sessions, and recent games.
To close the profile panel without making changes, click the X icon in the top-right corner.
3. Open the Profile Editor
In the profile panel, click the Edit icon. The profile editor opens and allows you to update your RollQuest account information.
Use this area to customize how your profile appears to other users in RollQuest.
4. Update Your Profile Picture and Cover Image
At the top of the profile editor, you can update the visual parts of your profile.
Click the current profile picture avatar. Choose the image you want to use, then upload or apply it.
You can also update the profile cover image if the option is available in the header area of the profile editor. The cover image appears as the large background area at the top of your profile panel.
Use a clear image that helps identify your profile, campaign identity, or tabletop character style.
5. Set Your Fantasy Name and Real Name
In the Profile editor, update the name fields.
The Fantasy Name field is for the name you want to use in the RollQuest world. This can be a character-style name, campaign identity, or display name, such as “Xara Nightwhisper.”
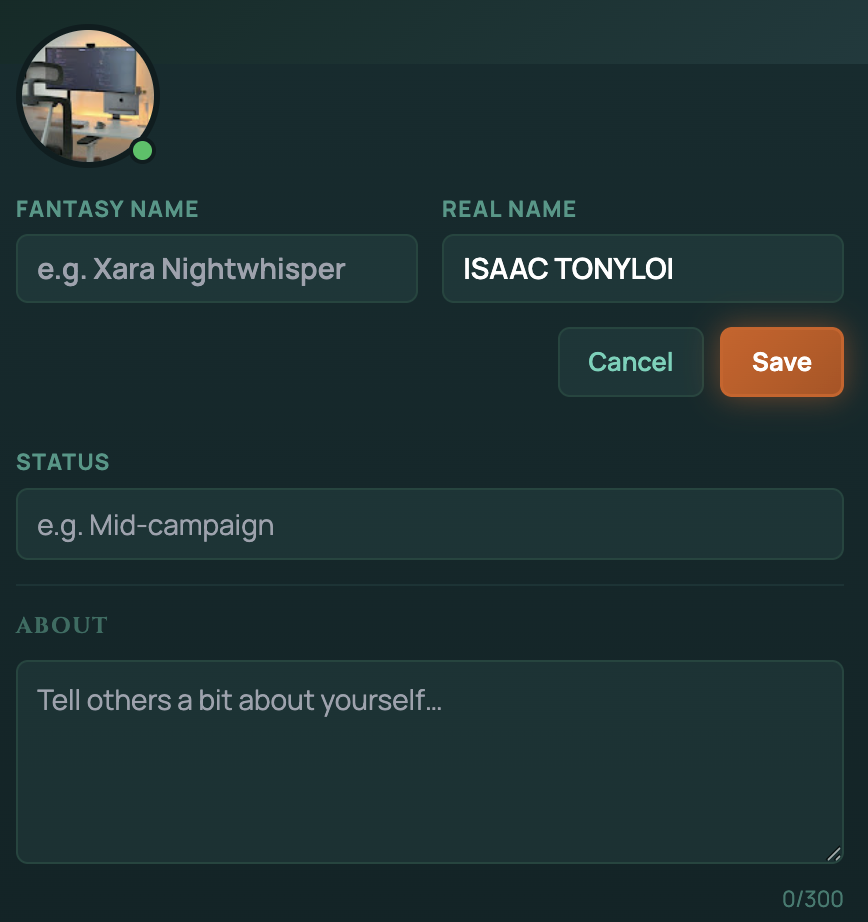
The Real Name field is for your actual name or the name you want other players to recognize you by. After editing these fields, review the spelling before saving.
6. Add a Status
Use the Status field to describe your current campaign state or availability. For example, you can enter a short status such as “Mid-campaign,” “Preparing a new game,” or “Available for sessions.”
7. Write Your About Section
Use the About field to add a short bio. This can include a brief description of yourself, your play style, your favorite RPG systems, or what kind of campaigns you enjoy.
The About section has a character limit of 300 characters, so keep the description short and useful.
8. Choose Your Pronouns
In the Pronouns section, select one of the available pronoun options.
RollQuest includes quick options such as she/her, he/him, and they/them. You can also enter custom pronouns in the custom pronoun field.
9. Add Social Links
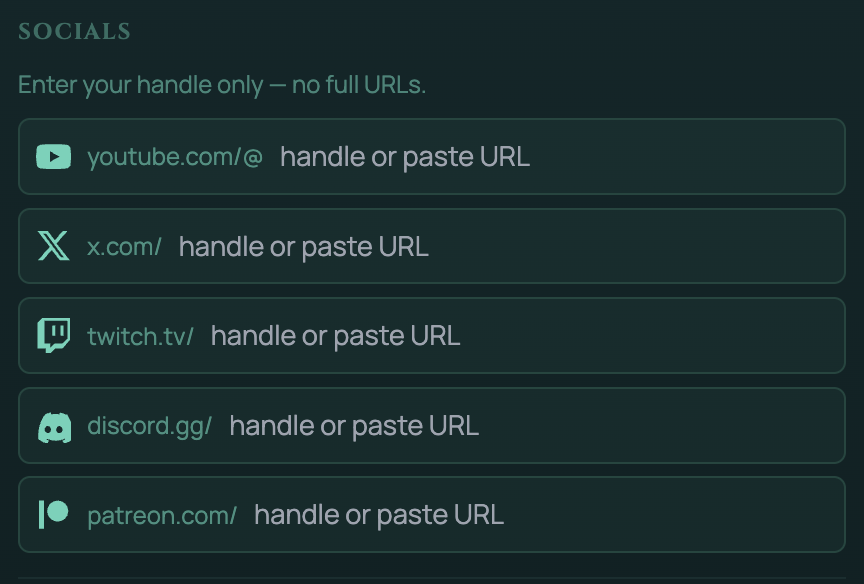
In the Socials section, add your social handles. RollQuest provides fields for platforms such as YouTube, X, Twitch, Discord, and Patreon.
Enter your handle only where possible. You should enter the handle or the full URL.
10. Review Account Activity
Below the profile details, RollQuest shows account activity information.
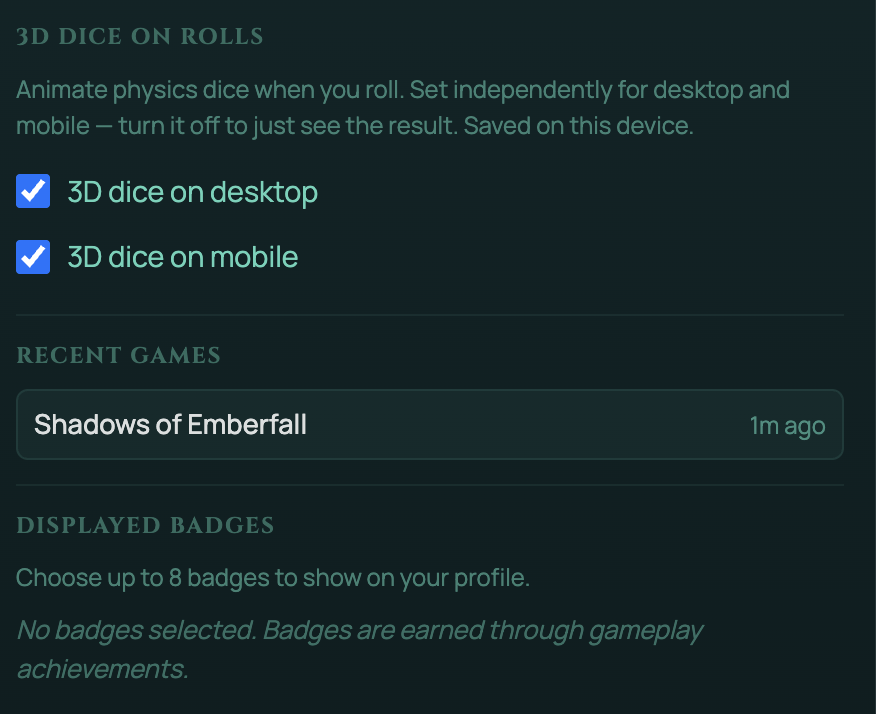
This includes your Member Since date and Total Sessions. You may also see a Recent Games section showing games you recently created or played, such as a test game or active campaign.
These details are displayed automatically and are not manually edited from the profile form.
11. Manage Displayed Badges
In the Displayed Badges section, you can choose badges to show on your profile.
RollQuest allows you to display up to 8 badges. Badges are earned through gameplay achievements. If you have not earned any badges yet, the profile may show that no badges are selected.
12. Save Your Changes
After updating your profile information, click Save.
RollQuest applies the changes to your account profile. If you do not want to keep the changes, click Cancel instead.
13. Confirm the Updated Profile
After saving, return to the profile panel and review your updated information.
Check that your profile picture, name, status, bio, pronouns, socials, and displayed badges appear correctly. You can reopen the editor at any time by clicking the Edit icon again.